
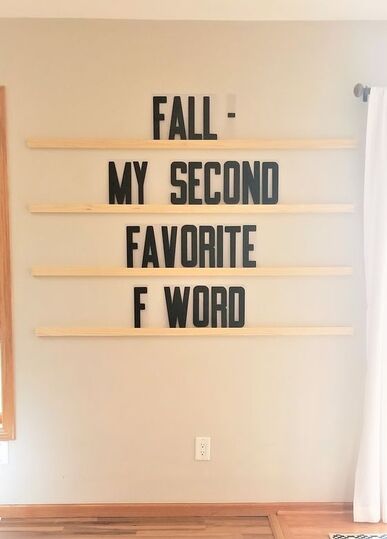
 Something about the change of seasons makes me feel restless. I was starting to get the itch to change up my decor as soon as the temperature started dropping. I would love to change all of my decor out with each season but I don't think there's a person on this Earth who has the time or energy (or budget!) to get that done. That is what makes this project perfect! Very little effort is needed and you can easily change the quote as often as you get the urge to. It also gives me a chance to showcase my favorite type of humor and, because I think I'm hilarious, I know it will bring me lots of giggles (oddly enough, my husband doesn't think I'm as funny as I do). This entire project can be completed for around $100 and in less than 1 hour. Items needed:
Instructions:
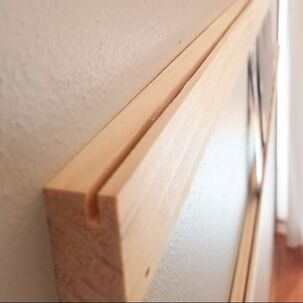
4. Line your first 1x2 up with the marks you made and nail it to the wall. Be sure that the ledge you created with the table saw is facing up. I only used 3 nails per board since the letters are very light. You could use also use heavy 3M strips to attach these to the wall, however, I've had bad luck with tearing up my walls when I want to remove them. Screwing the 1x2s into studs is also an option but I prefer the smaller holes the brad nails leave behind if I ever decide to change the wall again. 5. Double check your measurements for the second 1x2 and nail that into place. Repeat this process until all of your boards are hung. 6. Arrange your marquee letters into the most cheeky seasonal quotes and smirk every time you walk by! 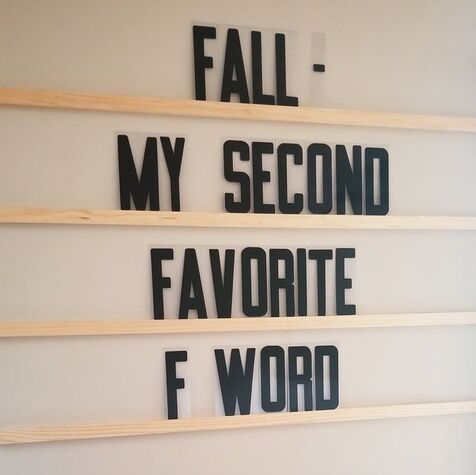
1 Comment
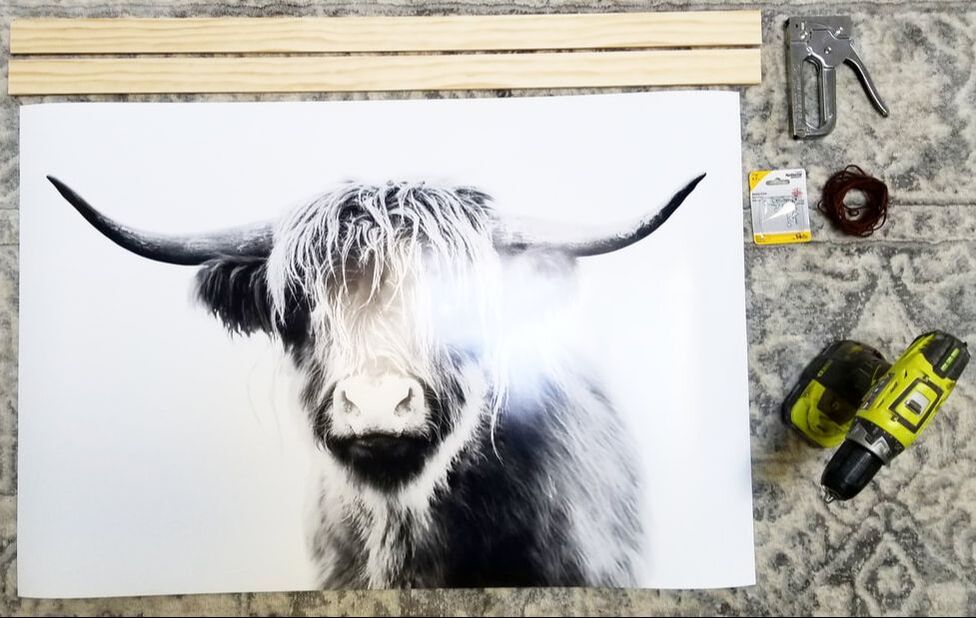
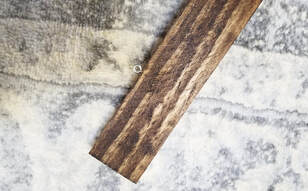
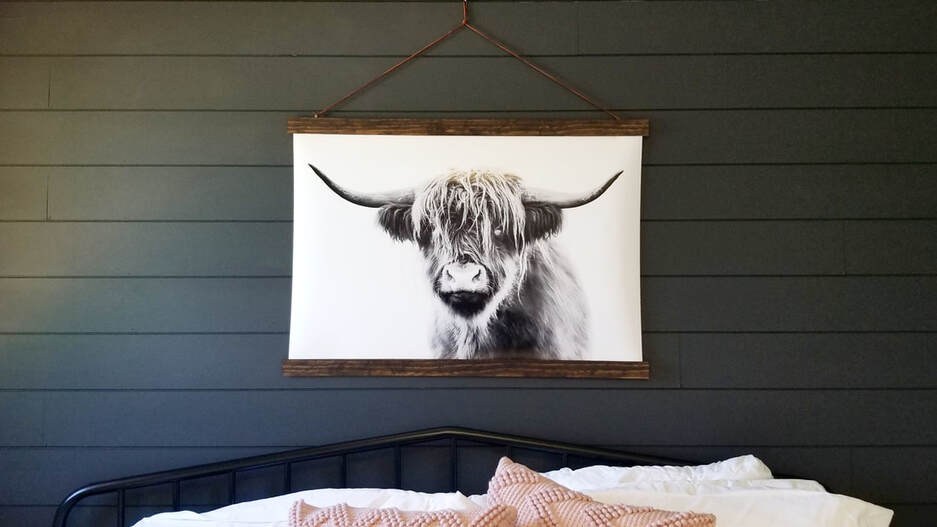 We've lived in our home for about a year and a half and as much as I would like to perfect every room in the house at this very moment, I also realize it's just not possible. Instead I'm taking it one room at a time and really making sure each room is one we want to live with for the long term - because I like to change things up often (and I know that drives my husband crazy)! I started working on the master bedroom a couple of months ago. After I finished installing the shiplap accent wall I realized I didn't have a vision for our room yet so our lovely master bedroom sat half-finished for a few months. The bright white walls and unpainted shiplap drove me crazy whenever I walked into the room. As most of my clients know, when I design a room I usually get a vision of what I want the entire room to look like (right down to the details of the decor on the wall). It took awhile for our master bedroom design to come to me but now I'm almost done with the overhaul (stay tuned for a full look later this month!) and I can't wait to share it with you! I saw an adorable canvas wall hanging for sale when my mom and I were checking out the new At Home store a couple of months ago. It was a large canvas with the most beautiful black and white photo of a highland cow. Something about it really struck a chord with me and I was still thinking about his furry face a few months later when the vision for the master bedroom finally came to me. I could picture him on a black wall (yes - I painted a wall black!) right above the bed. I searched high and low for a similar one online but couldn't justify spending $165 for a canvas. I am not a fan of the way canvases look anyways so I decided to take matters into my own hands and build a frame that fit my vision!
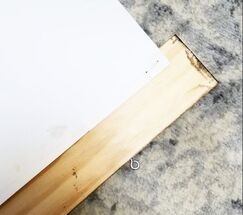
Instructions:
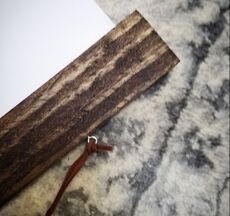
7. Hang your poster and gush over that gorgeous highland cow every time you walk into your room! 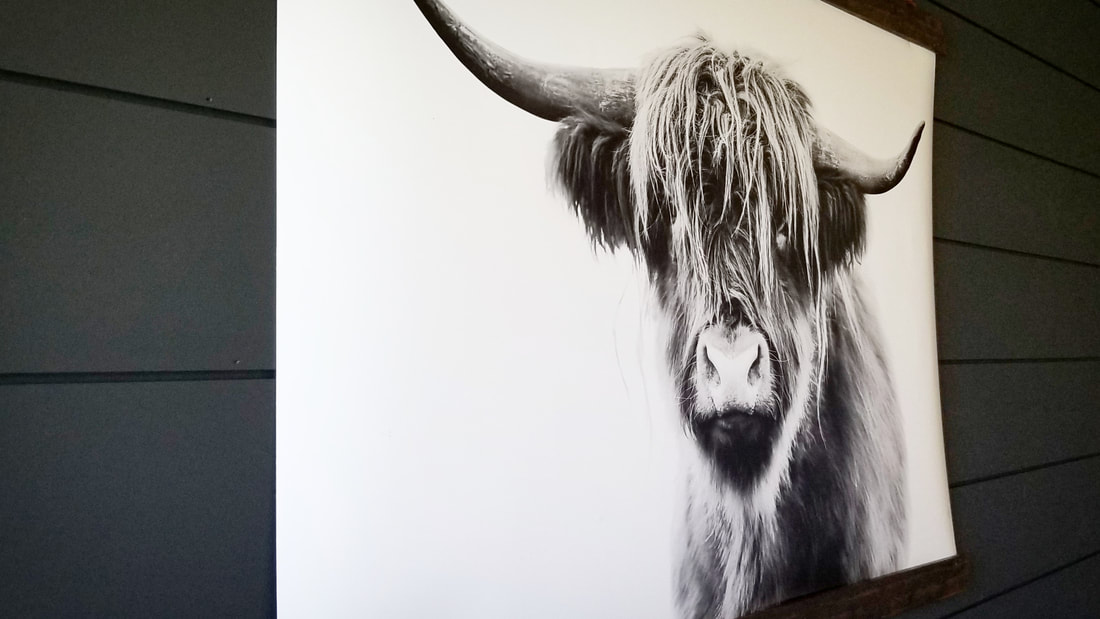 Making your own hanging poster frame? Be sure to share pictures and tag us!
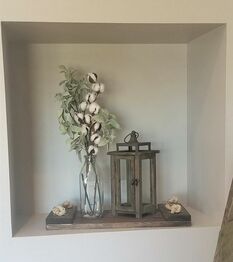
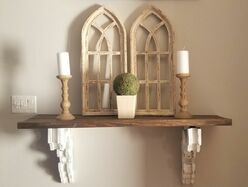
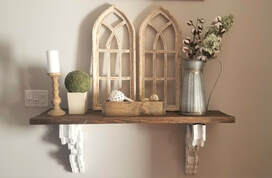
IG: @homebyhayley Facebook: www.facebook.com/homebyhayley One of the reasons I started Home by Hayley was because I really, really enjoyed making our home feel like it was truly ours. Aside from pride of ownership, we spend a lot of time in our home so, naturally, it should be a direct reflection of us – and vice versa. I’m a firm believer that our environment not only shapes who we are but how we feel and our overall well-being. I might be starting to sound a little crazy for some of our followers but just hear me out. Colors, lighting, spaciousness, and textures all enhance certain emotions just as being in a crowded, loud, dimly-lit room can make certain people feel claustrophobic or as a fluffy rug brings on the feeling of comfort and relaxation. Quite frequently I am asked, “How do you design your home? What do you use as inspiration?” – and it’s always a tough question to answer. Here’s the short answer – I can usually step into a room, close my eyes, and start to envision the way I want the room to look, the way I want to feel and the colors, shapes, and textures I want to be surrounded by when I’m relaxing with my family in the living room or getting ready for the day in the bathroom. While I am aware that this answer is not helpful to those who don’t have a sixth sense for design, here are a few tips that will help make your home feel effortlessly beautiful: 1. Asymmetry I know, I know – symmetry was a tough habit for me to break too. But I am so glad I did! Here is a good example. I was putting together a vignette for my entryway table. I had the corbel table idea stuck in my head since the first time I envisioned the space. What I decorated the table with was another story – and it took me a few rounds of styling to find contentment. I knew I had plenty of decorations stashed away in our office closet to fill the table (this is a hint at tip #5!) so I pulled a bunch of them out. My first attempt was what you see in picture one. The symmetry almost makes me anxious and as it feels entirely too methodical. Photo #2, however, is a great way to showcase asymmetrical balance. Not only is it pleasing to the eye, but it is also less likely to get boring over time.
 Varying heights and layers Varying heights and layers 2. Odd Numbers Like symmetry, our brains are hard-wired to prefer even numbers. Even numbers are just easier to digest – everything has a match, there are four sides to a square, etc. I promise your brain will love odd numbers too. Instead of placing two items on the shelf, try three. When buying decorations, skip pairs and buy an odd number instead. Even numbers feel less forced and bring out that effortless style that will catch the eye. 3. Heights & Layers This tip is something I’ve been really trying to pin down – it’s also the reason I bought a nine-foot Christmas tree at the end of the year (Sorry, hubs!). This is a simple concept but sometimes it’s not an obvious solution. I’m sure we’ve all been to the point in decorating our homes where we feel stuck. You know – the feeling when you sort of like the decorations, but you aren’t sure what’s missing. Hint: it’s usually varying heights! I completely upgraded our Christmas décor this year by adding a beautiful, handmade, wooden box instead of a tree skirt. I hung handmade signs that matched our neutral color scheme but still had a hint of the holidays. I loved each piece individually but there was just one thing missing that I couldn't put my finger on. Then, in mid-December, my husband and I were standing in the kitchen looking out into our living room. The Christmas tree, the TV, the decorations on the mantel, and the wall hangings were all at the same exact height (hence the new, nine-foot tree) and it was difficult for the eye to flow across the room. I can’t wait to see what the new, taller tree adds to our space next holiday season. If you get stuck, add varying heights. This simple optical illusion will help draw your eye to different parts of the room. Like varying heights, layers can also add depth that was lacking beforehand. Just as you want the different heights of your furniture to draw your eye across the room, you also need the varying depths of décor to make it feel like a substantial display. 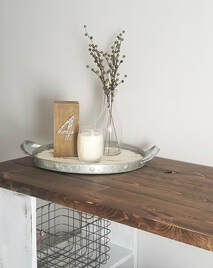 4. Mix It Up (within reason)
I’ll admit – this one is more difficult to those who lack a creative mind. It’s one of my favorite ways to play up a room and it can be simple too! There is no rule about what textures, colors, or decorations fit within a certain style. Just because you might have a farmhouse theme, you don’t have to shy from adding in modern furniture. You might have a room full of modern furniture with hard, clean lines but that doesn’t mean you can’t add in pillows with lots of texture and varying fabrics. Another easy way to mix it up is to use items you already have for reasons other than what they were created for. This is as simple as using a vintage wooden crate as a planter, using an old table number to add depth to a tray (see photo to the left) or hanging old door knobs in place of a coat rack. 5. You Never Know This tip might drive your significant other crazy just as it did mine. However, it has also given me free-reign to design the entire house because of how much my husband has enjoyed the way our home is designed so far (and we’re only half way there!). This tip is simple – pick up decorations or pieces you love even if you don’t have a place for it yet. It doesn’t matter how inexpensive the item is or how silly it might seem at the time – you just never know when you’ll find a place for it. I love to browse the closeout sale aisles of home décor stores. I will often find certain pieces for only a few dollars that I will bring home and stash away in storage until we are designing our next room. I often pull out one small item from our stash that just makes the whole room feel complete (and it’s happened many times). Are you stuck mid-design in a room of your home? Give these a try. If you’re still stuck, reach out! We love to help our followers when they’re in need of a second set of eyes. We also love to create custom pieces and would be happy to help you on your next project. |
Hayley GiesekeDog Mom. Wife. Cold brew connoisseur. Archives
September 2019
Categories |
 RSS Feed